Tuesday, June 30, 2020

Home Sweet Home


It is the last Tuesday in June and time for my A Card A Week Challenge!  The  theme  again is using a new technique.   This time I used inks as Watercolor Washes. 

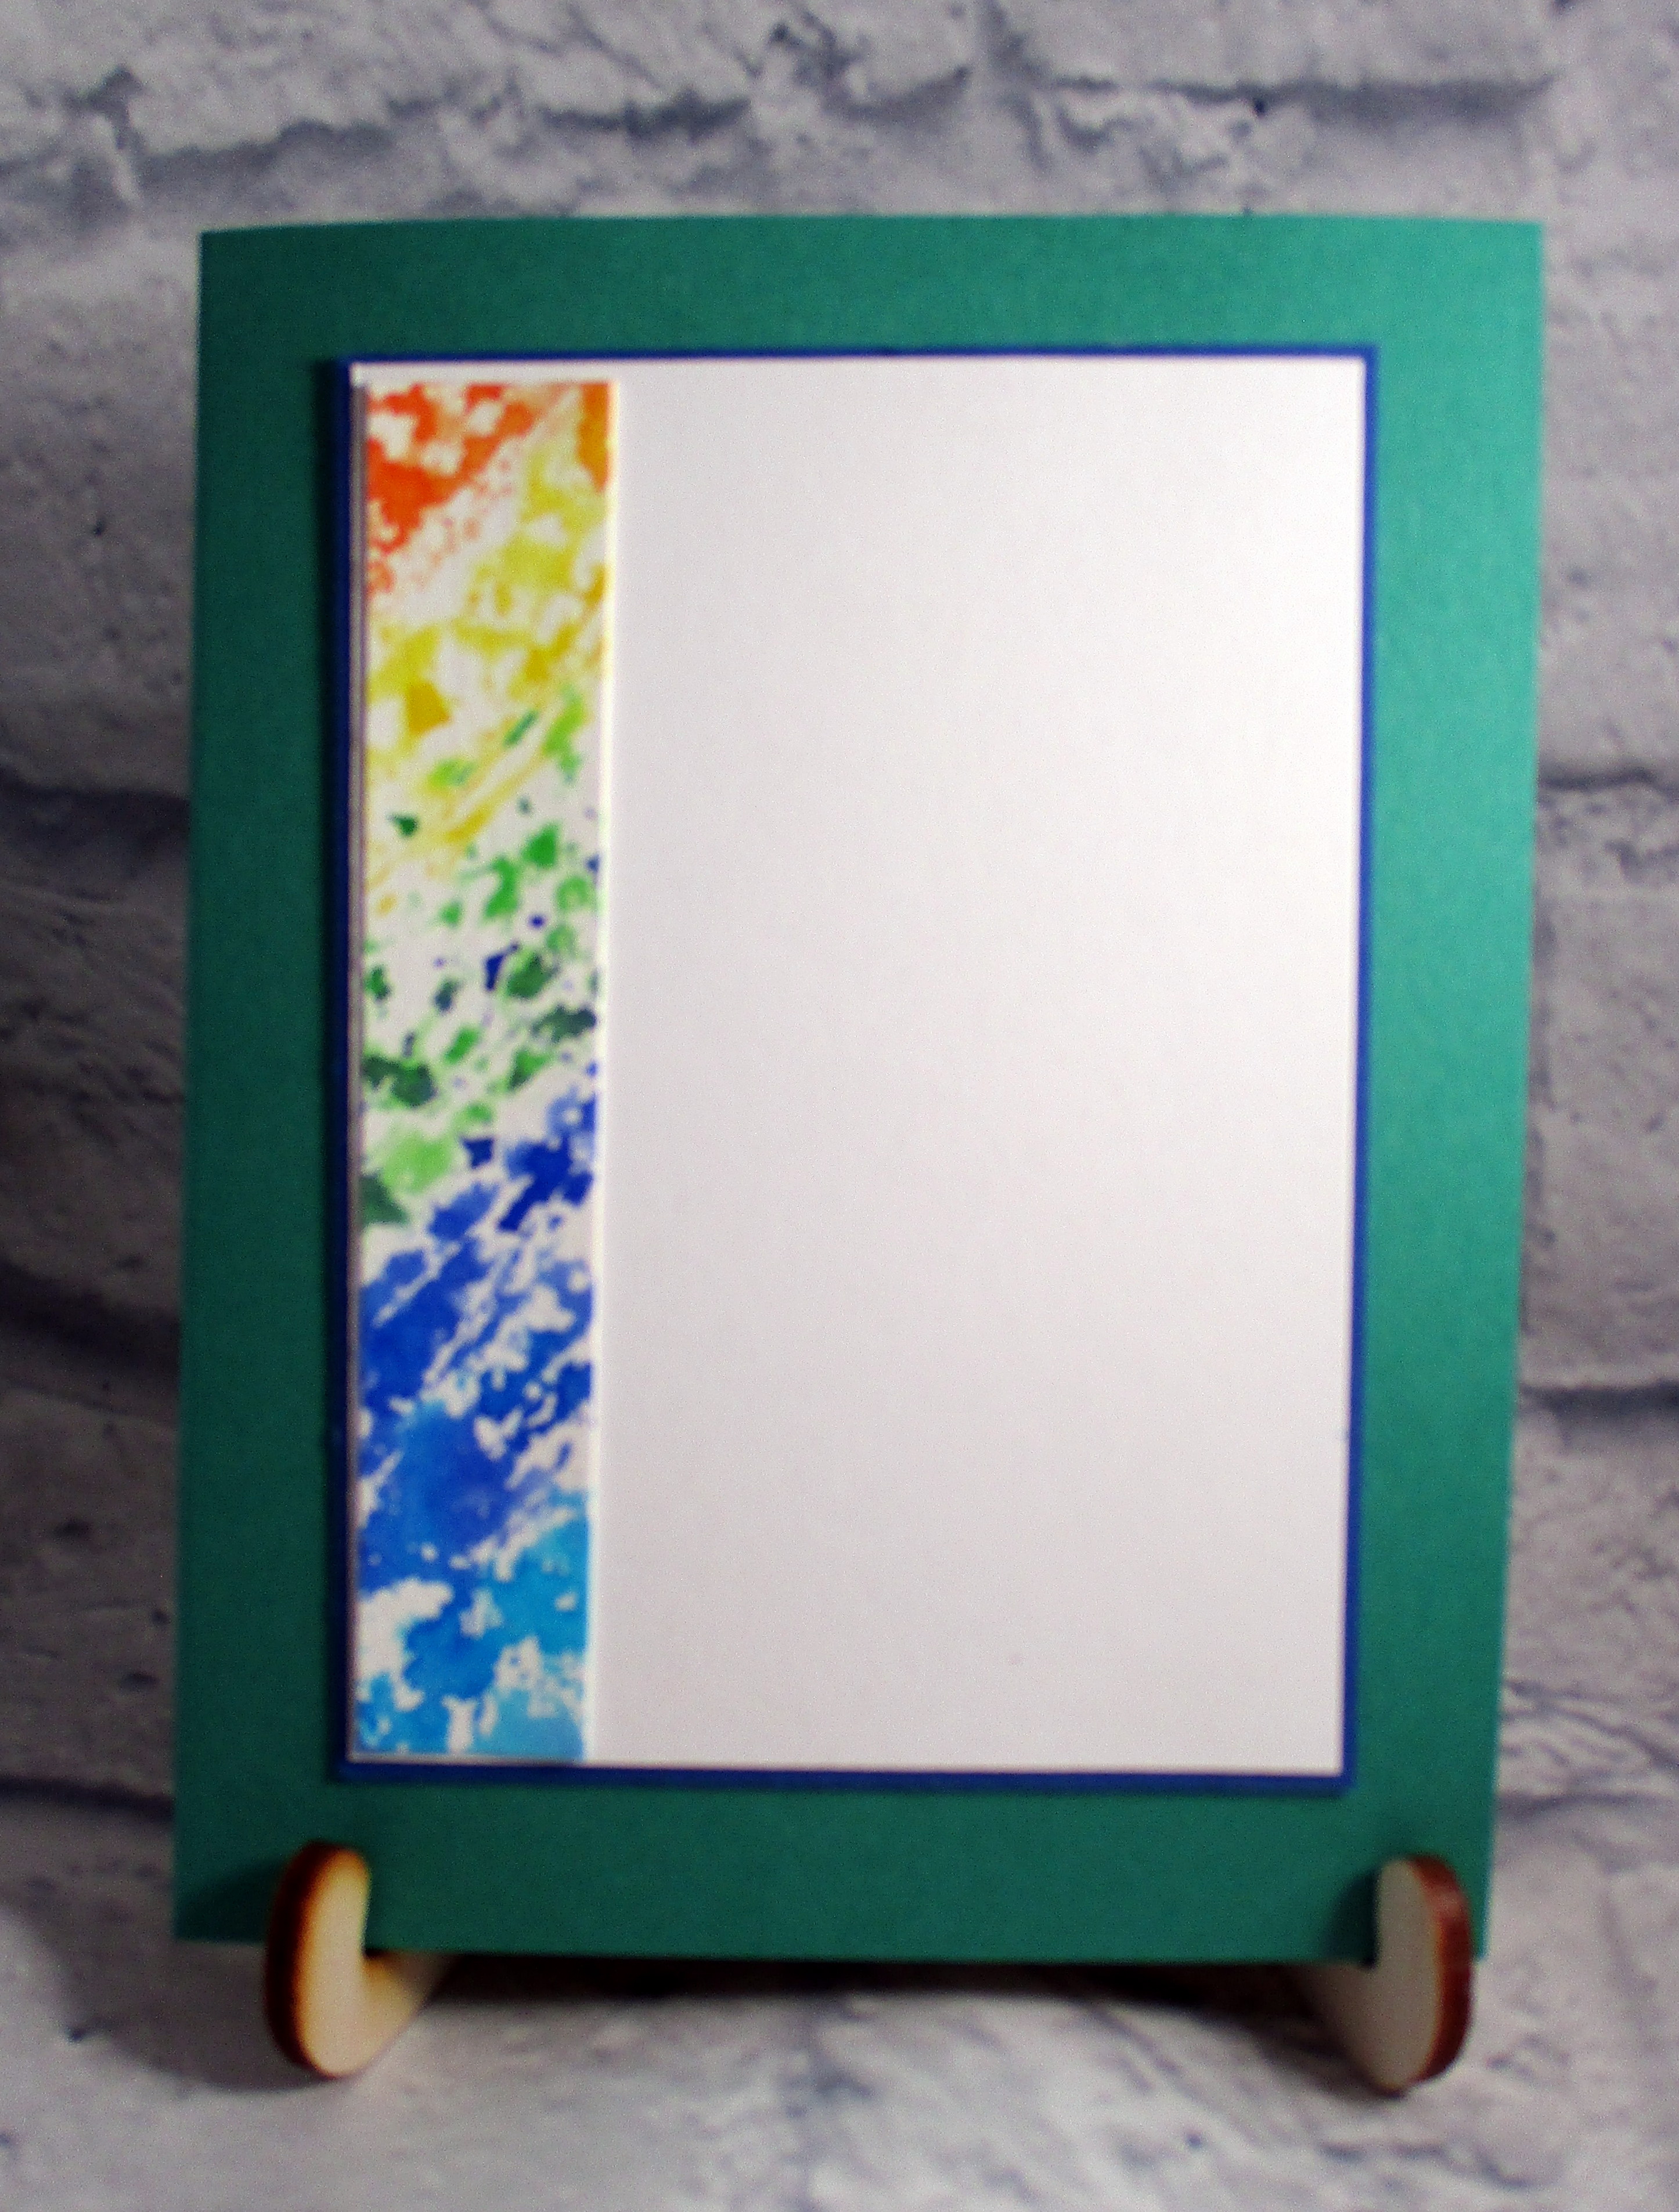
I picked two Tim Holtz mini Distress Inks and swiped the colors along the side of my white cardstock.  I then used a fun windmill stamp from Northwoods Rubber Stamp Company over that side of the panel.  I added the word Home from a Scraps of Love stamp set called Wisconsin Collage.  I have had the set for a few years, but this is the first stamp I inked up.  I realized when the card was done, that I used Green Bay Packer colors--how appropriate!


I really, really, like the look of these card and hope you do too.  I hope you will stop back next week to see what the last new technique for June!

Image/Sentiment:  Northwoods Rubber Stamp Company/Scraps of Love Wisconsin Collage

Cardstock/Patterned Paper: Neenah Classic Crest Solar White; Stampin' Up Garden Green, Daffodil Delight

Ink: Memento Tuxedo Black; Tim Holtz Distress Inks Mowed Lawn, Mustard Seed

Accessories:  Yellow Enamel Dots


Sunday, June 28, 2020

Life's a Beach


Today I am posting my card for our Challenge Your Stash group on SCS.  This is our 42nd month of de-stashing-we are into our 4th year of our challenges. 

The premise is to create a card or something else that uses only items that are in your own stamp room--nothing new is to be purchased.  The hostess each month posts their challenge to the group. Each person in the group creates their card with their own image, their own papers, their own embellishments with their own supplies--using up items from their own stash!  The card can be for any occasion and each person is encouraged to send the card on its way to someone so it can be admired.  It is a way for us to step out of the box a bit and create something that follows a challenge--isn't that what a challenge is supposed to be.  And--no money is spent as all items are to be already available in each of own stamping spaces.

Kari posted our June challenge--Life's a Beach!  I picked one of my favorite summer Whipper Snapper Designs wood stamps--and I have had it for many years!  I colored the image with my Copic Sketch Markers and added some Wink of Stella to the water and the sun.  The background is some fun water themed patterned paper from Bella Blvd called Seashore from the Secrets of the Sea line.  The only embellishment is some orange baker's twine.  


Here is the inside of my card:


If you check some of the blogs on my sidebar, you may find others who have posted their cards in the next few days.  There may be more posted in the thread on SCS, so you might want to check out the link here.  We also have a keyword for the SCS Gallery--it is CYSJUN.  You might see many cards there is you do a search.  They probably will be posted today or in the next few days.

I hope you enjoyed my card and I know I am excited to check out what my other hoarders, I mean stash reducers have made!  Thanks for stopping by today!  For July, Jeanette is up.  Be sure to check back to see what we create!

Image/Sentiment:  Whipper Snapper Designs Chicken Vacation

Cardstock:  Neenah Classic Crest Solar White; Stampin' Up Mango Melody, Coastal Cabana; Bella Blvd Secrets of the Sea-Seashore

Ink: Memento Tuxedo Black

Accessories:  Copic Sketch Markers; Orange Baker's Twine


Thursday, June 25, 2020

Mini Summer Camp Wrap-Up


Today is the final day of our Stamping Sisters Mini Summer Camp.  I am wrapping up the 4 day camp and I sure hope you have enjoyed our classes.  If you have missed any of the days, please go back and check out the three previous tuorials by our awesome camp counselors.


Here are our blogs and the days of being a camp counselor:

Monday/June 22 ~ Kelly @ Sandcastlestamper
Tuesday/June 23 ~ Darlene @ Accordingtobijou
Wednesday/June 24 ~ Jeanette @ Creativeplay
Thursday/June 25 ~ Barb (me!)  @ inkingintoretirement

I am here for our final class and you will need the following items:
  • A stencil-any design works.  
  • Pixie Spray and/or tape is recommended to hold your stencil in place.
  • Watercolor Markers--all four of us recently purchased a set of Karin Brushmarker Pro watercolor markers and I hope they use them today!  I would like you to pick some bright rainbow colors for your card.
  • An Aqua-painter or water-brush
  • A word or image die
  • Watercolor Paper 
  • Cardstock to complete your card
  • Any embellishments you might want to add

First--I sprayed Pixie Spray on the back of my stencil and laid it over my piece of watercolor paper.  Be sure to push down the middle of your stencil so it has good contact with your paper on all parts.


I picked two stencils from A Colorful Life Designs--Bare Rainbow and Heart Fade.  I like the results of the rainbow die better as it has larger open spaces than the smaller hearts. The watercolor will seep under the stencil, so it is a bit less obvious in larger areas. 

Now, pick out any number of watercolor markers.  I went with bold colors for both cards and used the ROYGBIV order.  There are 8 colors in my rainbow card as that is the number of rows.  


I started in one corner of the stencil by adding color with my markers direct to the paper.  I outlined the arches of the rainbow and then scribbled in between the outlines.  Then, I used my Aqua-painter to move the color in the open area of the stencil.  You can add more ink from your marker if you want a darker color.


I then trimmed the panels and layered with bold colors of cardstock.  I then die cut words for each card.  For the rainbow, I used Taylored Expressions Celebrate Script and Backer.  On the hearts, I went with a new die I just received from Simon Says Stamp called Scripty Happy Birthday.  I then added a few white glitter enamel dots to the rainbow.


really like these two cards and I hope you do too!


I hope you will join me in making a card with some watercolor markers, a stencil and a sweet die.  Since today is the final day of camp, we will say our goodbyes and see you soon.  Who knows--maybe we will do this again in the fall and hope you will join us again!

It has been a great time--I so enjoyed making the other cards that my sweet counselors taught.  I love the new techniques and the great cards as a result!


Image/Sentiment:  Taylored Expressions Celebrate Script & Backer and Simon Says Stamp Scripty Happy Birthday Dies

Cardstock/Patterned Paper:  Strathmore Watercolor Paper White; Stampin' Up Real Red, Brilliant Blue, Daffodil Delight, Tempting Turquoise, Mango Melody

Ink:  Karin Brushmarker Pro Watercolor Markers

Accessories:  White Glittery Enamel Dots; A Colorful Life Designs Stencils--Bare Rainbow and Heart Fade


Wednesday, June 24, 2020

Modified Stencil-Modified Silhouette-Day 3


Are you ready for Camp-Day 3?  Yes, we are into our third day--did you join us?  This summer camp is a virtual one and everyone is invited to attend. If you did not see what we are up to, please check my blog post from Monday.  This is the brainchild of my good friend Kelly and when she asked three of us to join her at camp, we all said YES!  And, if you did not see Kelly's awesome tutorial on Monday or Darlene's yesterday as counselors, be sure to check out their blogs!


Here are our blogs and the days we are going to be the camp counselor:

Monday/June 22 ~ Kelly @ Sandcastlestamper
Tuesday/June 23 ~ Darlene @ Accordingtobijou
Wednesday/June 24 ~ Jeanette @ Creativeplay
Thursday/June 25 ~ Barb (me!)  @ inkingintoretirement

Jeanette's challenge for today can be found on her blog along with a tutorial for making card.  Each day one of us will provide the directions and photos for our card and we hope you will join us.  Please Play Along--and remember, it is free to attend our camp!  

Jeanette asked us to use a die to create a stencil and then to create our own silhouette using a stamp.  We were to pick a die that would make a great stencil and then to pick a stamp that would be a silhouette when colored in with black marker.  I had never done either one of those things, so very new techniques for me!

I picked a die from Spellbinders called Kaleidoscope.  I cut it out of a piece of cardstock and then picked my ink colors.  I went with Tim Holtz Distress Oxide Inks Twisted Citron, Squeezed Lemonade and Crushed Pistachio.  I used my sponge daubers over the die cut piece of cardstock and inked my white.


I then looked for a stamp set that would have a recognizable stamp when colored black for the silhouette.  I grabbed an Avery Elle set called Sip Sip Hooray for the pair of clinking glasses and it was perfect.  I colored the stamp in with my C7 Copic Marker and fuzzy cut the glasses out.  I added some glittery enamel dots over the glasses for bubbles!  I picked the fun sentiment for my card to celebrate any special occassion.


Here is the inside of my card with any stamp from the same set:


really like this card and I hope you do too!


I hope you will join us at camp this week and play along.  You can start today or go back and check out the two previous cards to make also.  It will be a great time--I promise wonderful weather, no mosquitoes and no sunburn!   I am up tomorrow as out last day of camp--be sure to check back!


Image/Sentiment:  Avery Elle Sip Sip Hooray stamp set

Cardstock/Patterned Paper:  Recollections 110# White; Stampin' Up Daffodil Delight, Coastal Cabana and Granny Apple Green

Ink:  Tim Holtz Distress Oxide Inks Twisted Citron, Squeezed Lemonade, Crushed Pistachio; Stampin' Up Granny Apple Green

Accessories:  Spellbinders Kaleidoscope Die; White Glittery Enamel Dots


Tuesday, June 23, 2020

Stamping Sisters Mini Summer Camp-Day 2


Are you ready for Camp-Day 2?  Yes, we headed to camp yesterday--did you join us?  This summer camp is a virtual one and everyone is invited to attend. If you did not see what we are up to, please check my blog post from yesterday.  This is the brainchild of my good friend Kelly and when she asked three of us to join her at camp, we all said YES!  And, if you did not see Kelly's awesome tutorial yesterday as our first counselor, be sure to check out her blog!


Here are our blogs and the days we are going to be the camp counselor:

Monday/June 22 ~ Kelly @ Sandcastlestamper
Tuesday/June 23 ~ Darlene @ Accordingtobijou
Wednesday/June 24 ~ Jeanette @ Creativeplay
Thursday/June 25 ~ Barb (me!)  @ inkingintoretirement

Darlene's challenge for today can be found on her blog along with a tutorial for making card.  Each day one of us will provide the directions and photos for our card and we hope you will join us.  Please Play Along--and remember, it is free to attend our camp!  

Darlene asked us to go on a scavenger hunt and find something with texture for a background.  I used the bag that onions come in--the orange one and I also picked a piece of bubble wrap.  

I inked up both of them with shades of pink/red.  I used Tim Holtz Distress Oxide Inks Festive Berries, Candied Apple and Picked Raspberry.  I inked up both of my scavenged items with three rows of colors.  The left side is when I inked up the bubble wrap and laid my piece of cardstock right over the top to get inked.  The right piece was using the bag from onions and I taped it on the sides over the cardstock.  I then used my sponge dauber over the bag and inked the cardstock.  I carefully lifted the bag off to show the colored effect. Two different patterns applied two different ways.


I should have remembered the cardstock was going to be cut in half from side to side and made my rows of colors go the long way.  After I trimmed each piece to 4 1/2 by 7 1/2,  only two colors show on each piece.

Below are both of the cards that I made.  The top is from the onion bag and is a fun birthday card, using sentiments from the Birthday Girl stamp set from The Project Bin.  The bottom card is from the bubble wrap and would be a great congrats card, using the Stampin' Up Bravo Set.


Darlene gives awesome directions with pictures of how to cut out the middle and add the die cuts with the sentiments.  Her tutorial is So Good--be sure to check it out!  I used the Stampin' Up Deco Labels Dies for the middle of my card.

really like this card and I hope you do too!


I hope you will join us at camp this week and play along.  It will be a great time--I promise wonderful weather, no mosquitoes and no sunburn!  Jeanette is up as our counselor tomorrow--be sure to check back!


Image/Sentiment:  The Project Bin-Birthday Girl and Stampin' Up Bravo stamp sets

Cardstock/Patterned Paper:  Recollections 110# White; Stampin' Up Melon Mambo, Pretty in Pink

Ink:  Tim Holtz Distress Oxide Inks Festive Berries, Candied Apple, Picked Raspberries; Stampin' Up Melon Mambo

Accessories:  Stampin' Up Deco Labels Dies; Bubble Wrap, Onion Bag


Using Karin Markers


It is a Tuesday in June and time for my A Card A Week Challenge!  This is my fourth card for the month, with the theme of using a new technique.  This card was using my new Karin Markers!  I love the way this card looks!

I used 7 markers and scribbled on a piece of watercolor cardstock.  I then spritzed with water and let everything dry.  I then cut with my a frame Taylored Expressions Smile Picture Perfect from the watercolor sheet.  I embossed the background with a Cuttlebug Wedding Suite-Diamonds.  I picked all primary colors for this cardstock, including the Taylored Expressions Flower in the middle
 

Here is the inside of my card with a strip cut from the watercolor paper


I really, really, like the look of these card and hope you do too.  I hope you will stop back next week to see what the last new technique for June!

Image/Sentiment:  Taylored Expressions Smile-Picture Perfect/Flower

Cardstock/Patterned Paper: White Watercolor Paper; Stampin' Up Daffodil Delight, Green Galore, Brilliant Blue

Ink:  Karin Brushmarker Pro

Accessories:  Cuttlebug Wedding Suite-Diamonds


Monday, June 22, 2020

Stamping Sisters Mini Summer Camp-Day 1


Are you ready for Camp?  Yes, we still are heading to camp, though this is a virtual one and everyone is invited to attend.  This is the brainchild of my good friend Kelly and when she asked three of us to join her at camp, we all jumped (slightly over an inch) and said YES!


Here are our blogs and the days we are going to be the camp counselor:

Monday/June 22 ~ Kelly @ Sandcastlestamper
Tuesday/June 23 ~ Darlene @ Accordingtobijou
Wednesday/June 24 ~ Jeanette @ Creativeplay
Thursday/June 25 ~ Barb (me!)  @ inkingintoretirement

Kelly's challenge for the day can be found on her blog along with a tutorial for making card.  Each day one of us will provide the directions and photos for our card and we hope you will join us.  Please Play Along--and remember, it is free to attend our camp!  

Kelly asked us to take the word CAMP and use the theme Bold Color-No Color! We are to use each of the letters of C-A-M-P in creating our card and are to be sure to include a stamp with an A.  

Here is what I came up with:

C--Calypso Coral Cardstock and Ribbon; Circle Punches
A--All My Love Stamp Set by Concord & 9th
M--Mossy Meadow Cardstock and Ribbon
P--Perennial Essence Designer Series Paper

The Bold Color-No Color is for the background and stamp.  We are to use a bold color for the background and I picked the sweet Stampin' Up Designer Series Paper that started with a P--Perennial Essence.  I love the bold colors in the patterns.  I then picked my stamp set--All My Love and inked it up, but did not color it for the stark contrast.  I added one of the sentiments from the same set and punched it out with 2 circle punches-C.  I also layered two colors of taffeta ribbon.  I really like this card and I hope you do too!


Here is the inside of my card:


I hope you will join us at camp this week and play along.  It will be a great time--I promise wonderful weather, no mosquitoes and no sunburn!


Image/Sentiment:  Concord & 9th All My Love

Cardstock/Patterned Paper:  Recollections 110# White; Stampin' Up Calypso Coral, Mossy Meadow, Rich Razzleberry, Perennial Essence Designer Series Paper

Ink: Memento Tuxedo Black

Accessories:  Mossy Meadow and Calypso Coral Ribbon; Circle Punches


Sunday, June 21, 2020

Mini Fairy Ring


This is my card for June's Monthly Challenge for the Creative Card Chicks. This group is a kind of mystery image swap, where we each get an image and additional items to complete the challenge each month. This is the first month of our new round--join me through the rest of 2020 and into 2021.

Suzy is the hostess this month and sent everyone this sweet image from Outlines Rubber stamps called Mini Fairy Ring.  This company is closed and I too have some fun, whimsical stamps from this company!  Suzy also sent some cute patterned paper along with other embellishments.  

I colored the image with my Copic Sketch Markers and layered over two of the cute patterned papers. I also layered the pink baker's twine over the green ribbon under the image.   I added a flower in the corner and then a rhinestone in the center of the flower along with the center on one of the flowers in the image!    


Here is the inside of my card:


The Creative Card Chicks are to post our cards between the 21st and 23rd of each month--so if you check the blogs on my sidebars, you may see more of these wonderful creations! Many of our members also post their card in our SCS thread--so you might find more there.  Be sure to come back and join us again in July with an image that Debby sends out.


Image/Sentiment:  Outlines Rubber Stamp Company Mini Fairy Rings

Cardstock/Patterned Paper:  Recollections 110# White; Stampin' Up Granny Apple Green, Melon Mambo; DCWV The Floral Fair Patterned Paper Pack

Ink: Memento Tuxedo Black

Accessories:  Pink Baker's Twine; Green Ribbon; Rhinestones; Copic Sketch Markers